Settings
The Settings page allows you to manage your user profile, organization details, team members, and system preferences.
Preferences
The Preferences tab handles your personal user settings and active organization selection.
Multiple Organizations
Your organization refers to the database you and your teammates share. You can be a part of multiple organizations, allowing you to use this software with multiple companies or projects with the same account. It also enables a safe scratch space to play around with the software without fear of messing up your company's real data.
- Active organization: Use the dropdown to switch between organizations you belong to.
- Create new organization: You can create a new organization at any time. This is useful for testing or separating personal projects from work.
- Leave organization: You can leave an organization you no longer need access to.

Warning
If you are the last user to leave an organization, you will lose access to it and will need to contact support to recover it.
User Profile
- Profile: Update your full name and email address.
- Language: Set your preferred interface language.
- Change password: Send a password reset email to your registered email address.
Table preferences
Hegemi saves your column width and visibility preferences for tables locally on your computer. If you want to restore the default table layouts, you can click Reset saved table preferences.
Organization
The Organization tab contains settings that apply to the entire organization.
- Organization name: The display name of your organization.
- Default purchase approver: Select a user who will be the default approver for new purchase orders. This can be overridden on a per-user basis in the Users tab.
- Currency: The default currency for your organization (e.g., USD, EUR).
Locations
You can save your organization's addresses (e.g., "HQ", "Warehouse", "Lab") to make it easier to select shipping addresses when creating purchase orders.
Click Add Location to define a new address, or click the pencil icon on an existing row to edit it.
Custom Fields
Custom fields allow you to track extra data on your items, instances, purchases, deliverables, and vendors. These fields appear in the info tab of the respective editors and can also be displayed as columns in tables.
Creating a custom field
Click Add Custom Field to create a new one.
- Label: The human-readable name of the field (e.g., "Shelf Location").
- Import Key: The key used when bulk importing data for this field (e.g.,
shelf_location). This is auto-generated from the label but can be customized. - Entity Type: Choose which object this field applies to (Item, Instance, Purchase, Deliverable, or Vendor).
- Show in table: If checked, this field will be available as a column in the main table for that entity type.
Tip
Some keys are reserved for system use (like name, id, description) and cannot be used as import keys.
Users
Manage your team members and their permissions.
Inviting users
Click Invite users to add new members to your organization. You can enter multiple email addresses separated by commas or newlines. They will receive an email with a link to join.
Managing permissions
- Admin: Admin users can manage billing, invite/remove users, and assign Admin status to others.
- To make a user an Admin, hover over their row and click the Admin badge that appears.
- To remove Admin status, hover over the Admin badge and click the "X" icon.
- Default purchase approver: You can assign a specific purchase approver for a user. For example, if "Alice" should always have her purchases approved by "Bob", you can set that here. This overrides the organization-wide default.
Subscription
View your current subscription tier and usage.
- Free: Good for small projects. Limited to 3 users and 150 items.
- Professional: For growing teams. Up to 15 users, 5,000 items, and full event history.
- Enterprise: Unlimited users and items.
The usage bars show how close you are to your plan's limits for users and items.
Billing
If you are an Admin, you can click Manage subscription to open the billing portal, where you can upgrade your plan, update payment methods, or view invoices.
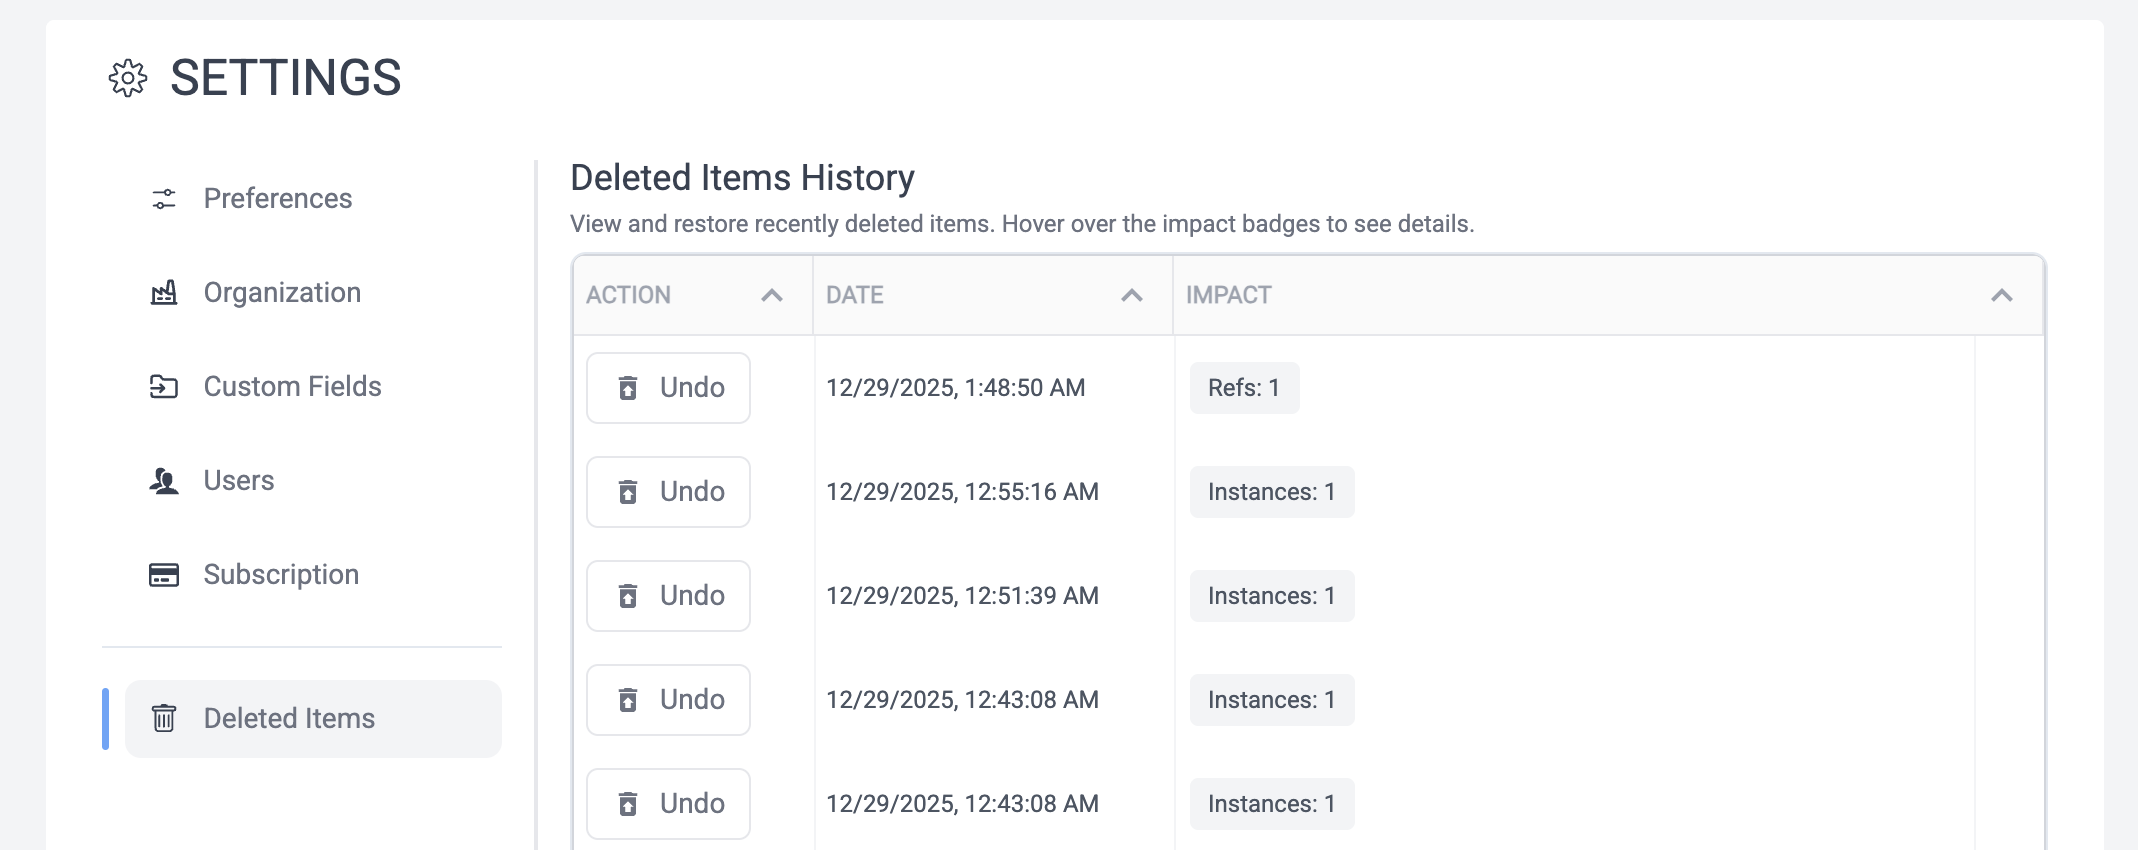
Deleted Items
Accidents happen! The Deleted Items tab allows you to view and restore recently deleted items.
- Undo: Click the Undo button to restore a deleted item. This will attempt to restore the item and all its associated data.
- Impact: The table shows badges indicating what data was lost in the deletion (Items, Instances, BOM references, etc.). Hover over these badges to see the specific names of the items that will be restored.
Tip
If you deleted a complex hierarchy (like a BOM with many children), it's best to restore the items in reverse order of deletion if you're doing it manually, but the Undo function handles restoring the specific deletion event and its direct impact.